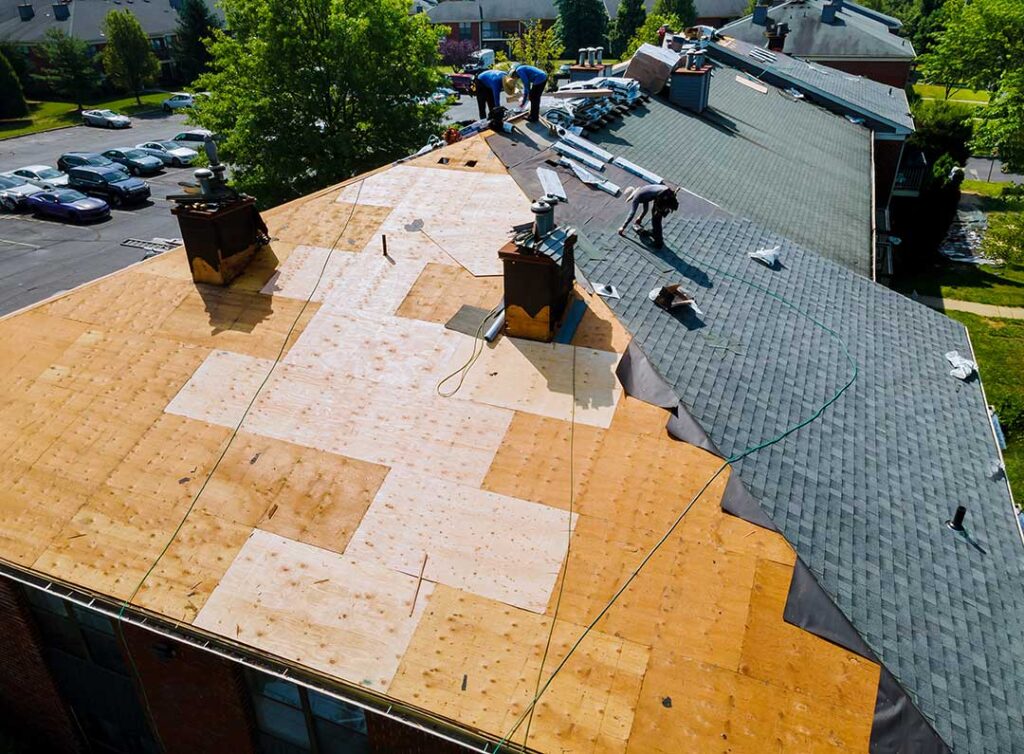
Roof penetrations are any places where an object passes through the roof surface, such as plumbing vents, chimneys, skylights, exhaust fans, satellite equipment, or electrical conduits. These openings must be sealed with the correct combination of flashing, underlayment, and compatible sealants to keep water from reaching the roof deck and interior of the home.
In Groton, NY, roof penetrations face repeated exposure to snow, freeze-thaw cycles, wind-driven rain, summer heat, and falling leaves. A seal that appears intact in warm weather may crack, shrink, or separate after several seasonal changes. Proper sealing is therefore more than applying a bead of caulk around an opening.
What makes a roof penetration watertight?
A watertight penetration uses layered protection rather than sealant alone. The roofing material sheds most water, flashing redirects water around the opening, and underlayment provides a secondary drainage layer beneath the shingles or other roof covering.
The basic components typically include:
- A properly sized flashing assembly
- An underlayment or membrane integrated with the surrounding roof system
- Roofing material installed in the correct overlapping order
- Fasteners placed where they will remain protected
- A compatible sealant used only where necessary
Sealant is useful for sealing small joints, exposed fastener heads, and certain flashing edges. It should not be expected to replace missing flashing or correct poor installation.
How should a plumbing vent be sealed?
A plumbing vent is usually sealed with a manufactured vent flashing that fits around the pipe and extends beneath the upper roofing courses and over the lower courses. The flashing collar should sit tightly around the pipe without restricting movement caused by temperature changes.
A proper installation generally follows this sequence:
1. Remove enough surrounding roofing material to expose the existing flashing and underlayment.
2. Inspect the roof deck for soft, stained, or deteriorated wood.
3. Slide the upper portion of the new flashing beneath the roofing above the pipe.
4. Place the lower portion over the roofing below the pipe so water flows downhill across the flashing.
5. Fasten the flashing in protected locations, following the design of the assembly.
6. Replace or cut roofing materials so they fit closely around the flashing.
7. Seal only the joints and fastener locations that require additional protection.
The flexible collar around the pipe should remain snug but not crushed. A split rubber collar is a common leak source, especially after years of exposure to sunlight and cold temperatures.
How are chimneys, skylights, and roof edges different?
Larger penetrations require more than a single piece of flashing. Chimneys commonly use a combination of base flashing, step flashing, and counterflashing. The step flashing must interlock with the roof covering, while the counterflashing protects the upper edge where the chimney meets the wall or masonry.
Skylights depend on a flashing system designed for that specific unit. Adding roofing cement around the outside frame may temporarily hide a problem but does not correct drainage issues, deteriorated flashing, or failed seals beneath the unit.
Roof-to-wall intersections, dormers, and sidewalls also need carefully layered flashing. Water can enter at an upper corner and travel a considerable distance before appearing as a ceiling stain. The visible leak location may not be directly below the failed penetration.
What type of sealant should be used?
The correct sealant depends on the materials being joined and the location of the joint. Roofing assemblies may include asphalt shingles, metal flashing, rubber pipe collars, masonry, wood, and painted surfaces. A sealant that adheres well to one material may fail on another.
A suitable roof sealant should generally be:
- Compatible with the roofing and flashing materials
- Flexible enough to tolerate seasonal movement
- Resistant to ultraviolet exposure and moisture
- Applied to a clean, dry, stable surface
- Used within the temperature range listed by the manufacturer
Avoid spreading sealant over wet surfaces, loose granules, heavy dust, frost, or deteriorated material. A thick layer over an unstable surface often separates as the roof moves.
Roofing cement can be appropriate for limited repairs, but it is not a universal solution. Some products become brittle in cold weather, while others remain soft and collect dirt. Silicone-based products may not bond reliably to every roofing surface, and household caulk is generally not designed for prolonged roof exposure.
Should old sealant be removed before resealing?
Usually, loose, cracked, peeling, or contaminated sealant should be removed before new material is applied. New sealant rarely bonds well to a failing layer underneath.
The area should be cleaned without damaging shingles, membranes, flashing, or pipe collars. Sharp tools can puncture underlayment or cut flexible components. If the flashing itself is rusted through, bent, split, or incorrectly positioned, removing and replacing the damaged component is more reliable than covering it.
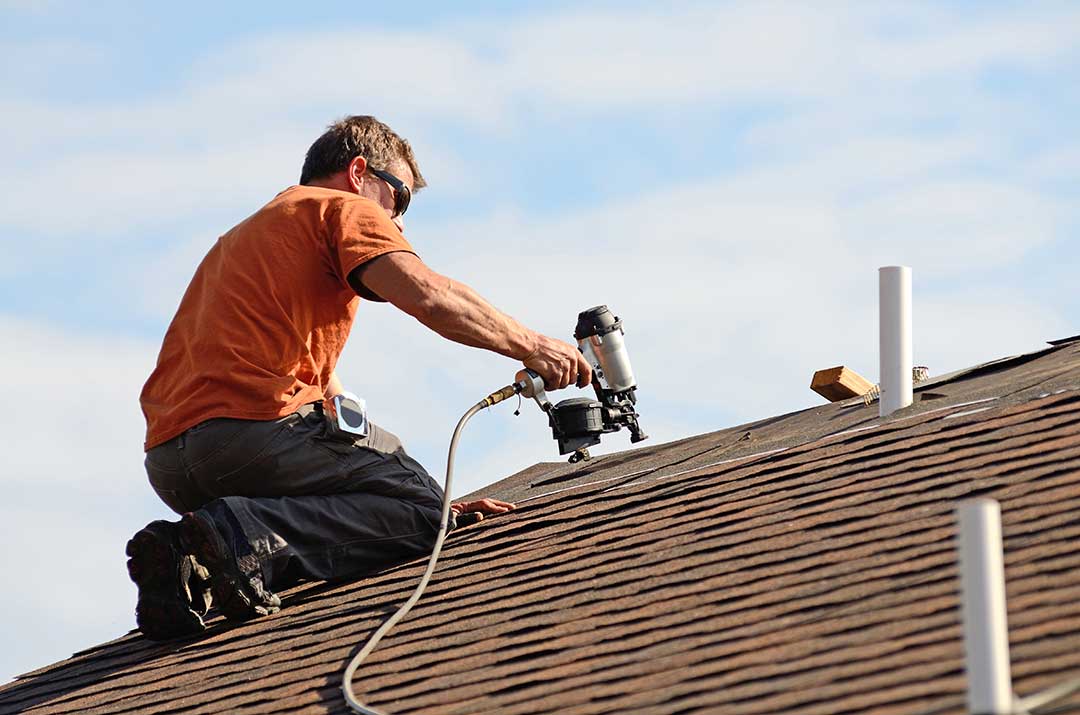
A small amount of intact sealant may be left in place when it is firmly bonded and compatible with the new material. The surface still needs to be dry and free of loose debris.
How can roof penetrations be inspected safely?
Inspection is most useful during dry weather and from a stable location. From the ground or attic, look for:
- Dark stains around vent pipes or skylights
- Damp insulation or roof sheathing
- Cracked flashing
- Lifted shingles near a penetration
- Rusted or missing fasteners
- Split rubber collars
- Gaps at chimney flashing
- Water marks that grow after rain or thawing snow
An attic inspection can reveal moisture before it reaches a finished ceiling. Look for daylight around penetrations, wet wood, mold-like discoloration, or compressed insulation. However, attic evidence should be interpreted carefully because warm, moist air can condense on cold nails or pipes and resemble a roof leak.
Walking on a sloped roof creates fall risk and can damage shingles, especially when the surface is wet, frosty, or brittle. Roof access becomes particularly hazardous during winter conditions. Safety concerns, extensive damage, steep slopes, and work near electrical equipment justify evaluation by a qualified roofing professional.
Why do leaks often appear after winter?
Freeze-thaw cycling can enlarge small gaps in flashing, split old sealant, and loosen materials around penetrations. Snow and ice can also conceal damage for weeks. During spring thaw, water may reach openings that were not obvious during a dry inspection.
Ice buildup along lower roof edges can increase pressure on flashing and roofing materials. Heavy snow should not be shoveled around vents, chimneys, or skylights with sharp tools because scraping can damage the surface and create new openings.
After a major winter event, an attic check and a visual roof inspection from the ground can help identify problems early. Interior stains, dripping during thaw, or damp insulation should not be dismissed simply because the roof appears dry later.
When is resealing not enough?
Resealing is not an appropriate long-term repair when the penetration has missing flashing, rotted decking, widespread shingle damage, an improperly sized opening, or repeated leaks after previous patching. Water may also be entering through nearby valleys, roof-to-wall areas, or ventilation problems rather than the penetration itself.
A durable repair requires identifying the water path, removing compromised materials, correcting the flashing arrangement, and restoring the roofing layers in the proper sequence. Local permitting or inspection requirements may apply when structural materials, electrical components, chimneys, or major roofing sections are altered, so applicable local requirements should be checked before work begins.
Properly sealed roof penetrations are built to drain water, accommodate movement, and remain inspectable. Sealant has a supporting role, but the lasting protection comes from sound flashing, correctly layered roofing materials, and a dry, well-maintained roof assembly.